A blend of light, fluffy sponge cake and creamy custard, this Magic Custard Cake earns its name by forming distinct layers during the baking process. The preparation is simple yet fascinating, with each step contributing to the magic. This recipe promises a stunning dessert sure to impress your family and friends. Follow this detailed guide to create your very own layered masterpiece.
Ingredients You’ll Need
To make this magical dessert, gather the following ingredients:
1/2 cup (113g) unsalted butter
2 cups (480ml) milk
4 large eggs, separated
4 drops white vinegar (or substitute with lemon juice)
1 1/4 cups (150g) confectioner’s sugar
1 tablespoon (15ml) water
1 cup (125g) all-purpose flour
1 teaspoon (5ml) vanilla extract
Extra confectioner’s sugar for dusting
Optional Enhancements: Add a pinch of salt to balance the sweetness, or a sprinkle of nutmeg or cinnamon for a hint of warmth and spice.
Step-by-Step Guide to Making Magic Custard Cake
- Preparing Your Workspace
Begin by preheating your oven to 325°F (163°C). Lightly grease an 8-inch square baking dish to prevent sticking and ensure easy removal after baking.
2. Melting the Butter and Warming the Milk
Melt the unsalted butter in a small saucepan or microwave. After melting, remove it from the heat and let it cool to room temperature. Meanwhile, warm the milk gently until it becomes lukewarm. Take care not to boil the milk, as it could affect the consistency of your batter.
3. Whipping the Egg Whites
In a clean, grease-free mixing bowl, combine the egg whites with four drops of white vinegar. Whip the mixture with an electric mixer until it reaches stiff peaks. These peaks are essential for achieving the light, fluffy texture of the top layer of the cake.
4. Creating the Egg Yolk Mixture
In a separate bowl, beat the egg yolks with the confectioner’s sugar. Mix thoroughly until the mixture becomes pale and creamy. Gradually add the melted butter and a tablespoon of water, continuing to mix for about two minutes to create a smooth and creamy base.
5. Incorporating Dry Ingredients
Sift the all-purpose flour into the egg yolk mixture gradually, stirring gently to combine. Sifting ensures the flour integrates evenly, preventing lumps and ensuring a smoother texture for the batter.
6. Combining Wet Ingredients
Slowly add the lukewarm milk and vanilla extract to the batter, stirring continuously. At this stage, the mixture should be smooth, pourable, and free of lumps.
7. Folding in the Egg Whites
Divide the whipped egg whites into three portions. Gently fold one portion at a time into the batter using a silicone spatula. This technique preserves the airiness of the egg whites, which is crucial for the cake’s texture. Make sure there are no visible streaks of egg white, but be cautious not to overmix, as this could deflate the batter.
8. Pouring the Batter and Baking
Carefully pour the runny batter into the prepared baking dish. The liquid consistency is normal, so don’t worry. Bake in the preheated oven for 45 to 60 minutes. The cake is done when the center is slightly jiggly but set. If the top begins to brown too quickly, loosely cover it with aluminum foil to prevent it from over-browning.
Cooling and Finishing Touches
Allow the cake to cool completely in the baking dish before attempting to slice it. For faster cooling, refrigerate the cake. Cooling helps the custard layer firm up, making the slices cleaner and more defined.
Once the cake is completely cooled, dust the top with a generous amount of confectioner’s sugar for an elegant, professional finish.
Pro Tips for Perfect Results
Room-Temperature Eggs: Ensure your eggs are at room temperature for easier separation and better whipping of the egg whites.
Grease-Free Utensils: When whipping egg whites, make sure your mixing bowl and utensils are entirely grease-free to achieve optimal stiff peaks.
Chill Before Serving: Refrigerating the cake enhances the texture of the custard layer, making it firmer and easier to cut into neat portions.
Why Is It Called “Magic Custard Cake”?
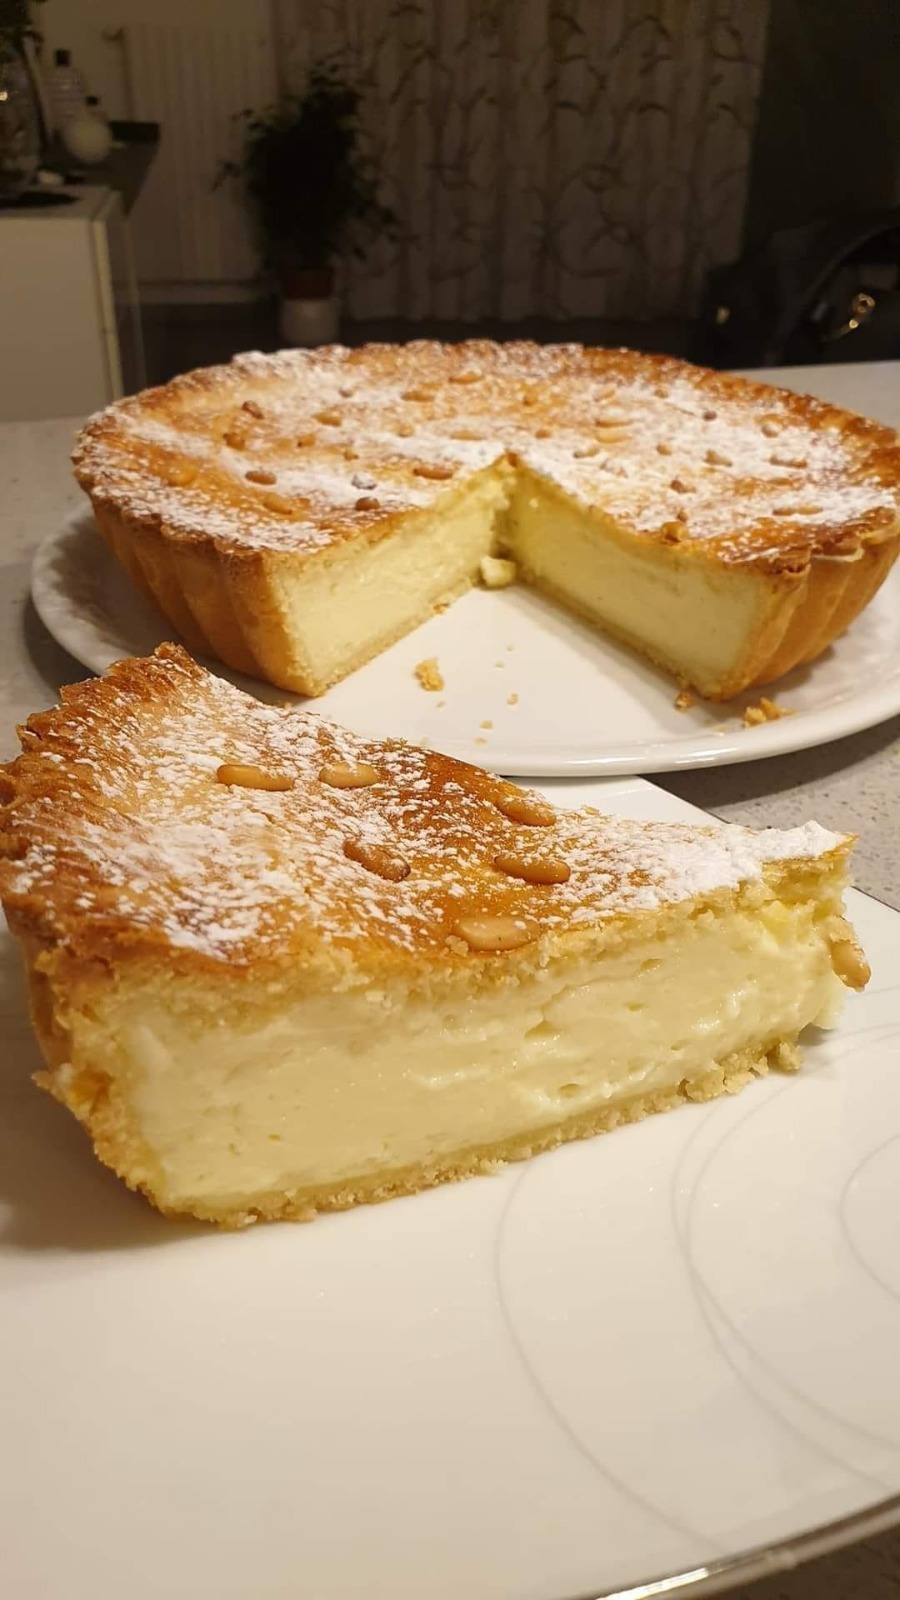
The magic lies in how the batter separates during baking to form three distinct layers: a dense base, a creamy custard center, and a light, fluffy sponge on top. This transformation happens naturally as the batter bakes, thanks to the unique consistency and the careful folding of the whipped egg whites.
Serving Suggestions
This cake is best served chilled. Pair it with fresh berries, a dollop of whipped cream, or a drizzle of caramel sauce for an indulgent treat. Whether you’re hosting a dinner party or simply indulging in a sweet craving, this dessert is sure to delight.
Frequently Asked Questions
- Can I use a different type of milk?
Yes! While whole milk is recommended for a rich texture, you can substitute it with almond milk, soy milk, or oat milk for a dairy-free version.
2. How do I know if my cake is baked?
The center should be slightly jiggly but set when you gently shake the baking dish. If it’s too runny, bake for an additional 5-10 minutes.
3. How long does Magic Custard Cake last?
Place leftovers in an airtight container and refrigerate for up to 3 days. The flavors deepen and improve, making the cake even more delicious the next day.
Ingredients
-
4 eggs, room temperature
-
3/4 cup (150g) caster sugar
-
125g unsalted butter, melted
-
1 teaspoon vanilla extract
-
¾ cup plain flour – sifted
-
2 cups (500ml) lukewarm milk
-
1/4 cup (30g) icing sugar for decoration
Directions
1.Preheat the oven to 170°C (fan-forced). Line a 20cm square baking tin with baking paper, ensuring the paper extends beyond the sides for easy lifting.
2.Separate the eggs, placing the egg whites in a clean, dry bowl. Use an electric mixer to whip the egg whites until stiff peaks form, then set them aside.
3.In a separate large bowl, beat the egg yolks and caster sugar with an electric mixer until the mixture becomes light and frothy.
4.Gradually add the melted butter and vanilla extract, mixing on low speed until combined.
Slowly sift in the flour, adding it a few spoonfuls at a time, and mix well. Then, gradually add the lukewarm milk and continue mixing until the batter is smooth.
5.Gently fold the whipped egg whites into the batter, being careful not to overmix. It’s normal for the batter to look slightly lumpy.
6.Pour the batter into the prepared baking tin and bake for 35 minutes, or until the top is golden and the cake is set.
Let the cake cool completely in the tin before removing it. Dust with icing sugar and serve.
Nutrition Facts
- Calories:139kcal
- Fat:3g
- Saturated Fat:1g
- Polyunsaturated Fat:0.4g
- Cholesterol:51mg
- Sodium:48mg
- Carbohydrates:23g
- Fiber:0.2g
- Sugar:18g
- Protein:4g
- Calcium:72mg
- Iron:1mg
